
Types of Collars: Part 2
What’s the difference between a gentle leader and a Martingale? How exactly do harnesses work? This blog continues to demystify the various types of items you can use to walk your pup - this time, reviewing gentle leaders, harnesses, and prong chokers. Read below to find out the design, function, when to use each type, and how to use each type of collar on your dog.
The Gentle Leader
Design: Gentle Leaders have two loops- one for over the nose of the dog, and one for behind the ears. Hanging from the nose loop is a small tag with a loop on the end, where the leader connects to a leash.
Function: Gentle leaders are designed to keep particularly distracted dogs more focused during walks or training. Since the leash is connected to the nose of the dog, and not their neck, the walker is giving more guidance over their dog’s head.
When to Use: Dogs in training, who pull excitedly on walks, or who are otherwise particularly distracted on walks could benefit from the gentle leader.
How to put it on your dog:
Position the neck strap (generally the larger strap) around your dog’s neck and snap into place. The collar should sit high up on their neck, rather than loosely at the bottom.
Take the nose loop and slide it over your dog’s nose.
Attach leash to metal loop.
The Harness
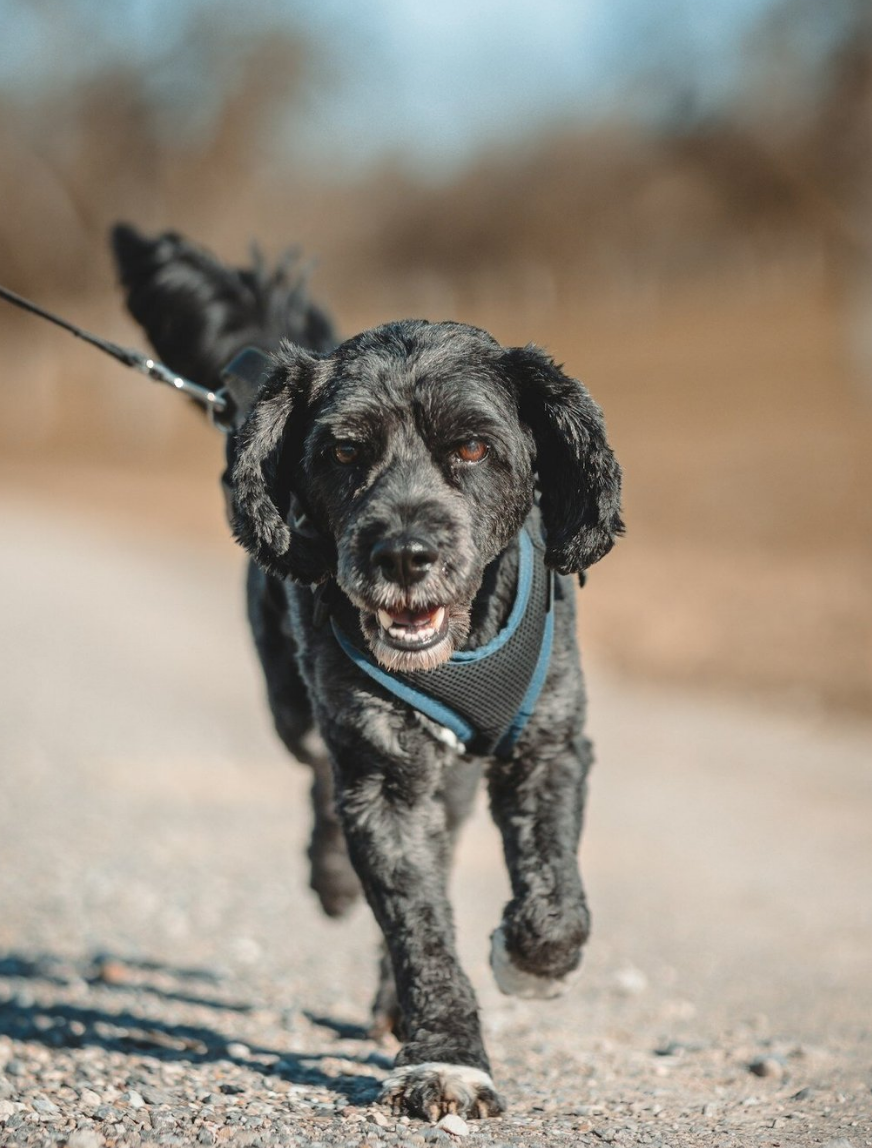
Design: Harnesses can differ in design, but generally encapsulate the chest and back of the dog, with a loop either on the back, or the chest. The leash attaches to the loop.
Function: Harnesses can have a million different uses! They’re great for attaching your dog to various sorts of transport equipment, such as a car seat, and have benefits for the excessive pullers as well. Even if you just want to give your dog a little extra freedom, as the leash attaching on the back instead of neck provides a little extra leash, the harness safely provides that as well.
When to Use: Harnesses may be best for smaller dogs that are excessive pullers or have breathing problems, as the harness does not apply pressure to the dog’s neck. Using a harness may not cure a dog of their pulling problems - they may even be able to pull more with the harness than a regular collar. However, it can be an effective tool to prevent trachea damage. Other methods such as dog training are best to help correct excessive pulling. Large/strong dogs may benefit more from another type of collar.
How to Attach: Putting a harness on your dog may vary. However, these general steps should be helpful:
Hold the harness in front of you so the largest loop is at the top, and the two smaller loops are at the bottom. The largest loop is for their head, and the two smaller ones are for the front legs. Some harnesses may have one smaller loop and a clasp, that when connected will form the loop for the second leg.
Pull the largest loop over your dog’s neck.
Guide each leg through the smaller loops. It’s likely that one leg will need to be lifted off the ground to slide into the loop, and a clasp will close the loop around the other leg.
Give your dog a treat for their patience!
The Prong Collar
Design: Prong collars consist of connected metal links, with the “prongs” facing in towards the dog’s neck. The links may end in a clip, or continue all the way around the collar.
WARNING:
Prong collars have been studied extensively, and there is evidence they can cause harm. Just like any of the collars listed in this blog, a tool can easily be misused and cause physical or emotional harm to a dog - however, prong collars are more notorious for this. It’s recommended to obtain leash training from a professional trainer, and only to use prong collars should all the other tools not work well for your dog.

A prong harness, with one “link” circled.
Function: Prong collars are intended to distribute equal amounts of pressure to a dog’s neck. However, to ensure this protective feature, the collar must fit properly. A collar that is too loose will have the same effect under pressure that a flat collar would: direct pressure on the neck. The collar should not sit loosely around the neck like a necklace, but should sit firmly up high on the neck and make contact with every point around the neck.
When to Use: Prong collars are best for dogs in training and dogs with strong reactions. Remember, prong collars are not for “bad” dogs. They are not meant to be a punishment. But they can easily be misused in the wrong hands. It’s highly recommended to use alternative tools prior to a prong collar, and to consult a trainer, before using a prong collar.
How to put it on your dog: Prong collars can take a bit of practice to perfect. These steps outline the basics for most prong collars:
Wrap the collar around the top of your dog’s neck, with the loose ends meeting at the back of their neck.
Take the clip in your dominant hand and squeeze the corners of the metal prongs together.
Slide the two prongs on the link through the two openings on the other link, continuing to squeeze as they slide through. The collar should now be a complete circle and sit comfortably at the top of your dog’s neck. The picture above highlights one “link”/”clip”, and how the pieces fit together.
Attach the leash through the metal loop. This feature may be different depending on the brand of collar, but will be fairly obvious where the leash attaches.
In Summary
Every dog is different. Some dogs are afraid of harnesses and need a collar, some do better with a gentle leader rather than a Martingale. Our hope is to provide you with information on how to choose the best one for your dog.